Monday, October 24, 2016

DIY party shades

Me and my husband are going as futuristic aliens this year for Halloween, and as part of our costume I thought we should have totally over the top party sunglasses!
So I got the materials mainly from Walmart - two cheap pairs of sunglasses plus a totally amazing and over the top necklace. The necklace was then completely deconstructed using needle nose pliers. I also bought a few beads and charms from the Hobby lobby.  

Next I proceeded to hot-glue the various beads, pendents and chains onto the glasses frames and lenses. The glue can be seen a little in a few spots, but for the most part is not noticeable. Unfortunately they are a little heavy and delicate, we will just have to be careful with them come this Halloween weekend! 


Sparkly hoodie and pants for him

In an attempt to make coordinated Halloween costumes for my husband and I, I have decided that we can both be futuristic aliens this year! I am a little sad not to be a unicorn again, but I couldn't think of  a male costume to go with my unicorn outfit. I am sure we will have a great time both as shiny aliens though! I'm really pretty excited about it.
Using fabric from Joann's for the shiny outside and bright orange stretch velvet from Spandex world, I created a somewhat warm and very fun, reversible hoodie for the husband! The orange velvet was actually left over from when we last went to Amsterdam - we visited during Kings day, and thus needed wild bright orange outfits. That festival is just so much fun! It definitely is a great time to visit that beautiful city. Because this hoodie is reversible, its is not only warmer but now he can wear it orange side out should we find ourselves in Amsterdam at the end of April again!
I made major alterations from the Simplicity 9499 raglan shirt pattern, obviously!  I added a hood, added ribbed cuffs and waist band, lengthened the sleeves and torso as my husband is tall, I lined it, gave it pockets on one side, and put a separating zipper in the center. I think it came out well, but we will have to see how it actually looks on the husband this weekend!
Connecting the outside to the lining with the bottom ribbing
Adding the zipper - and connecting the outside and the lining
Look at that lovely zipper!
Adding the cuffs
Finished cuff
I hand stitched through the outside and lining just at where they meet the bottom band
And the husband of course also needed shinny pants to match the shiny jacket! I made a quick and improvised version of V8940 using stretchy super shiny fabric from Joann's. This has a faux front fly as the fabric is stretchy and I know this pattern fits him very well. I did add a real waist band with belt loops just in case the pants are so stretchy they slip down. I omitted the side pockets, but did add back patch pockets.
Front
Back

Sparkly bomber jacket and leggings for her

Hi folks! So with Halloween right around the corner I have been very busy getting fun outfits put together for the husband and myself. This really is my favorite holiday because of the totally over the top stuff I get to make! Costumes really are my favorite projects.
So I was initially thinking this shinny outfit would be great for a unicorn - hence the unicorn horn and furry leg warmers- but now I am leaning more toward making this into a futuristic alien costume. Either way, I think it is going to be fun!
The fabric is from Joann's and is super silky, stretchy, and covered in tiny holographic rainbow reflective dots. Unfortunately these dots are only glued on, so I am sure many of them will be lost before Halloween is over. In fact, this fabric made a ridiculous sparkly mess in my house as I was sewing this up!
The jacket was an adaption from the Kwik sew 3491 pattern. I altered the pattern to make a ribbed band for the neckline, and I made this fully lined as I am sure it will be at least a little cold in NYC for Halloween. I used left over white fleece fabric for the lining, and it is supper warm and cozy with this! The pattern was very easy to follow. I do think it came out a little on the large size, and this is with a fleece lining! I like the way the ribbed band at the bottom came out. I will definitely make this again, but will certainly add a lining next time as well.
Neck collar folded in half
Neck collar


 But, I couldn't stop with just a jacket - I had to make matching leggings as well! I used a pair of jersey leggings as an easy pattern, but unfortunately the sparkly fabric had significantly less stretch than the jersey and these leggings came out too tight! I ended up opening the inner seam and adding a 2 inch panel there. I know this is not the best place to widen pants, as far as fit is concerned, but I really didn't want a seam on the outside of the legs and figured a 2 inch strip wouldn't completely destroy their fit.


Sunday, October 16, 2016

DIY furry leg warmers


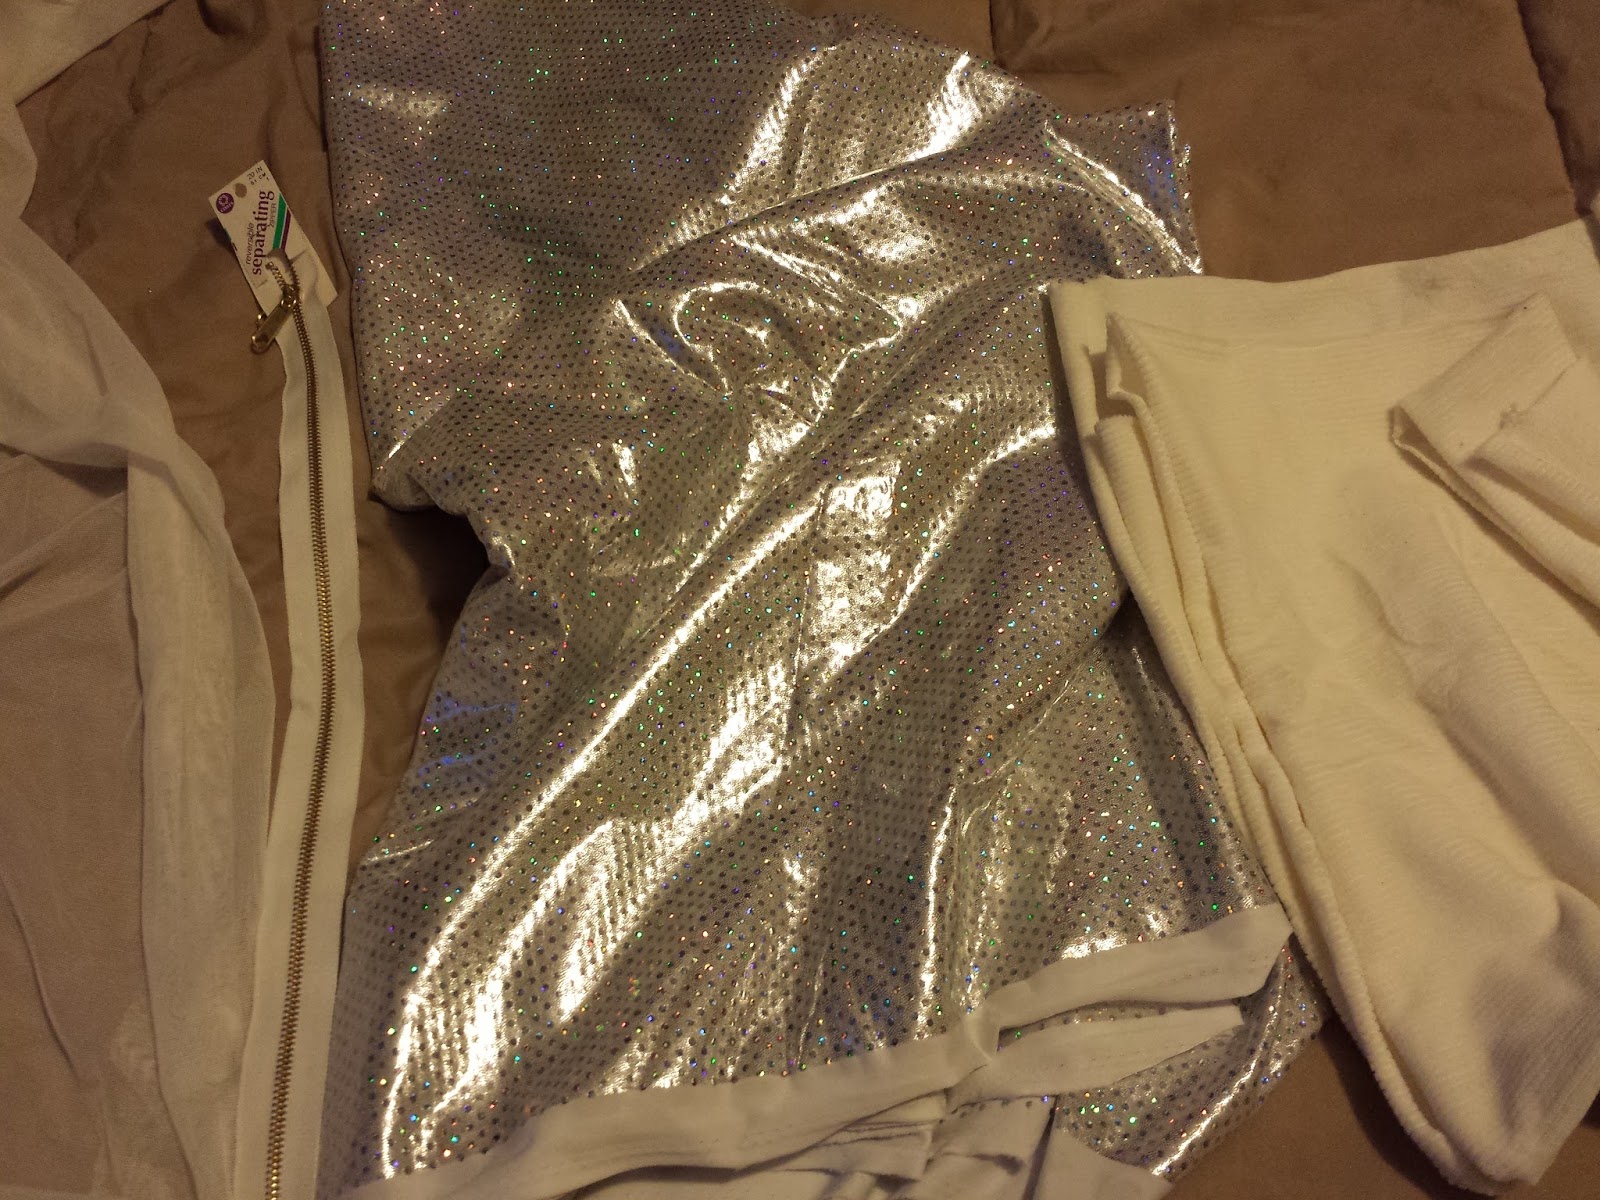
So its my favorite time of year again - time for Halloween, which means an excuse to sew fun stuff! Furry leggings are supper easy and can be a fun addition to so many different costumes and outfits. These white furry leg warmers are going to go with my Halloween outfit this year.
When making leg warmers, depending on the direction of the fur pile, you'll need about 1/2 yard of furry fabric. You will also need elastic for the top and a strip of fabric for the elastic casing.
Step1: Make a pattern by tracing around your leg. Point your foot so that you have a straight line from your forefoot up to your lower leg.  Trace this pattern from your forefoot to just below your knee on the front, and from your heal to to the top of your calf on the back. Give yourself at least 1/2-1 inch margin as the furry fabric will add some bulk.
Step 2) Cut the fabric by placing the straight edge of the pattern piece along the folded edge of fabric. This will allow you to have only one seam, located at the back of the leg. Be sure to try to avoid cutting the fur pile as you cut the pattern out.
Measure the circumference of the top of your calf and cut out this length of elastic and fabric to make a casing for this elastic band. This should be snug as the furry leg warmers will have some weight, and you wont want them falling down.
 Step 3) Sew up the back seam, add the elastic to the top, and you are ready to rock your new furry leg warmers!
I added stretchy lace to where the elastic band meets the fur. These are so easy its ridiculous, I really want to make them in other colors now too!

Saturday, October 15, 2016

Mens short sleeve shirt

I recently finished this button up for my husband using the Burda 7767 pattern. I have lost count of how many shirts I have made for him with this pattern - it is such a great pattern and fits him so well! Because my husband is both tall and thin, he has a very hard time finding shirts that fit his height and neck/torso circumference at the same time. This pattern, with a little tweaking, fits perfectly.
I have cut the pattern at size 34 for the width and size 60 for the length. I also like to cut the collar one full inch thinner to keep the look contemporary; the pattern itself features rather large collars that are reminiscent of 1970's fashion. Finally, I like to add a facing to the back yoke for extra strength and durability.
Because I was running short on yardage, this latest shirt is a short sleeve. Unfortunately I didn't have enough fabric to even match the two front pockets with the front! Thankfully I don't think this detracts too much from the final look. This version features snaps instead of buttons. This was my first time using snaps and I thought they were a bit tricky to put on, but still easier than sewing all of those button holes! I definitely recommend getting several extra snaps and practicing on scrap fabric first if you plan on using snaps. I also cut the inner collar band, yoke facing, and inner center front of the placket out of a soft thin indigo denim fabric for a little extra character.
Measuring everything twice


Hammering the snaps on


Monday, October 3, 2016

Self-drafted lace dress tutorial

As the wedding season draws to a close, I found myself in need of something pretty to wear to an outdoor wedding in Northern California in early October. I new the weather would most likely be sunny, but also most likely also be breezy and chilly after sundown. I still wanted to wear a dress, but knew the fabric would have to have some weight so that if could be both relatively warm and pair well with tights, boots, and a jacket.
...enter this amazing buy at Mood! I found this absolutely lovely heavy-weight pale pink intricate lace at Mood and knew it would be perfect. I used a self drafted pattern that was based loosely on a friends dress that I am in love with!

Below are the pics of the pattern pieced I used for this dress (size 2-4). I used black light weight jersey for the lining, princess seams with top stitching for the bodice, and a subtle high-low hem for the skirt with minimal gathers at the waist. The back has a zipper in the center.
Back bodice with zipper placed at the back. The diagonal line is the cutting line for the lining so that the lace is unlined in the center upper back.
Bodice center front (left) and side front (right)
Sleeve with option to cut slit for sleeve placket (I didn't do this for this dress)


All in all I am very happy with how this dress came out! Comfy and pretty!