Sunday, December 31, 2017

Baby snuggler

I have been on a baby-snuggler-sewing-kick recently. I want to be fully prepared to keep my baby warm when she arrives, and my house is awfully drafty plus this is turning into a particularly cold winter even in Alabama. I found a simple and very easy snuggler/swaddler pattern here that I will surely make many times over.
Putting the printed pattern pieces together was a little tricky though. The pattern has two pieces and you need to cut one from each the outer and lining fabric: back piece and front leg pocket. I used fleece from Jo-Ann's for both the outer and inner fabric, and was really surprised with how little fabric is needed to whip up one of these snugglers.
I plan to make more of these, they are just so easy! The next one will be with low pile fur for the inner layer for extra warmth in my cold apartment. This pattern could also be easily modified to make it into a stroller-compatible snuggler/sleeping bag wrap.

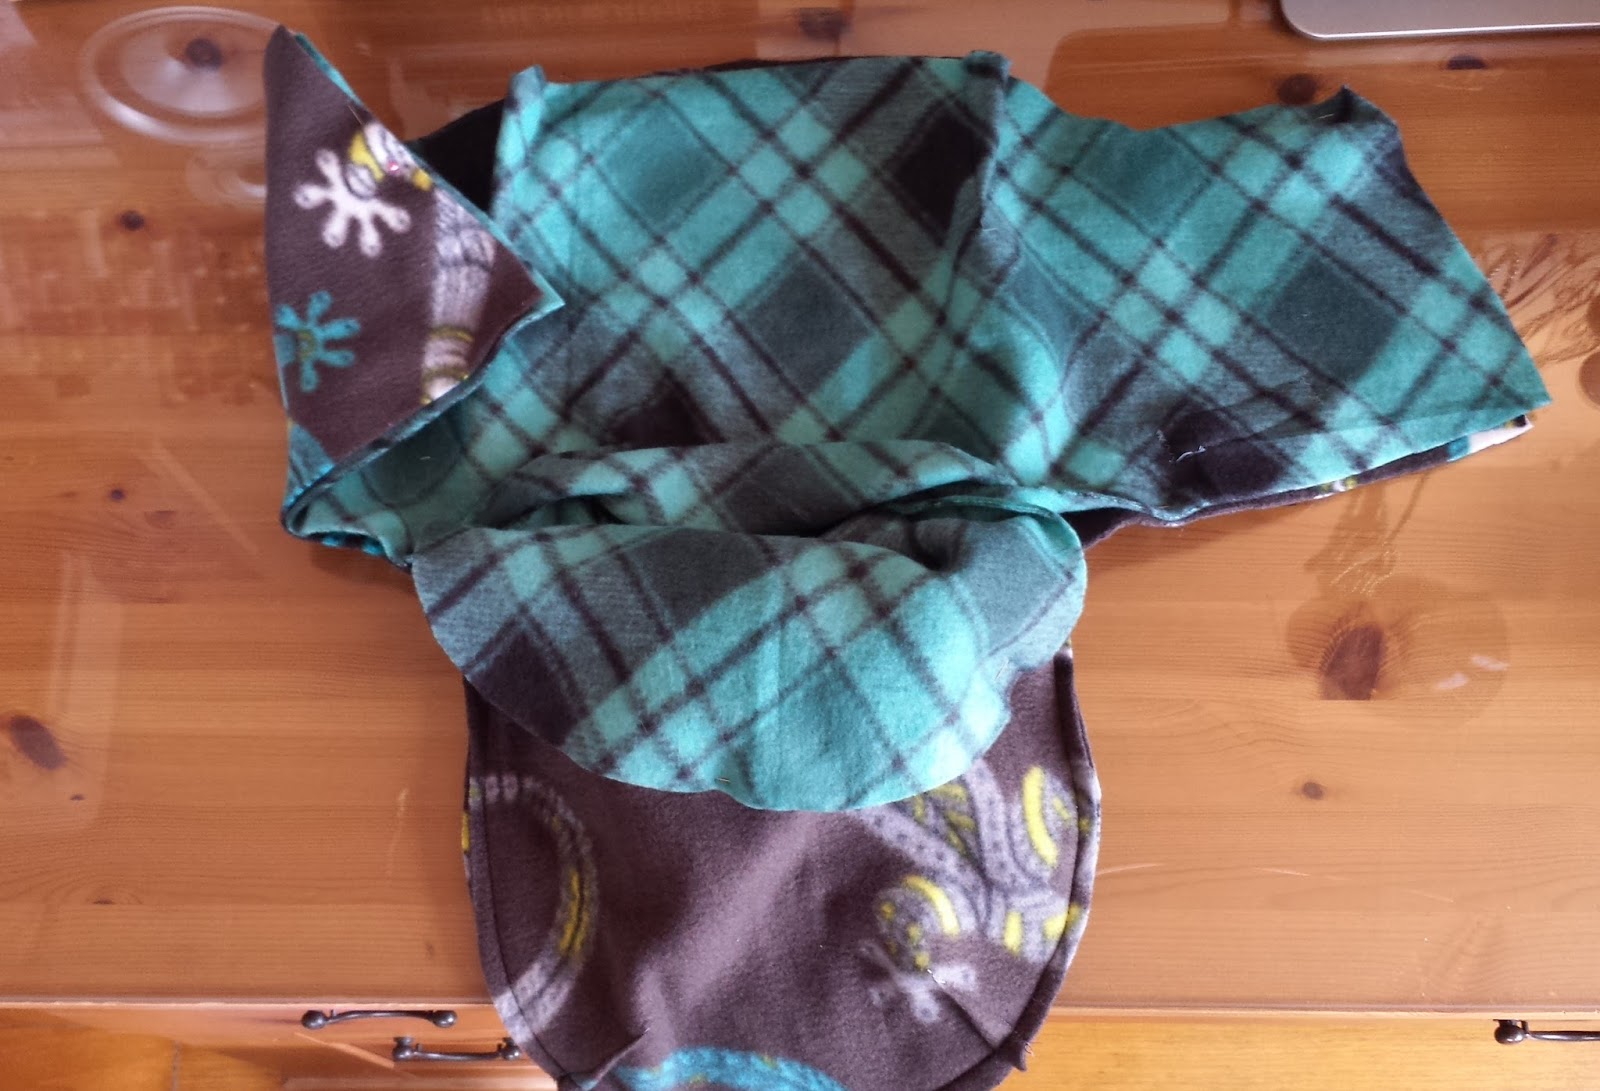
First I sewed in the darts and attached the velcro on the leg pocket and front wraps. Then I sewed the leg pocket to the back piece for both the lining and the outer fabric.

Next, with right sides facing in, I sewed the lining to the outer fabric, leaving an opening to turn this right side out. The opening was then hand stitched closed.
 Cant wait to wrap up a baby in this cute little snuggler!
---------------------------------------------------------------------------
So I have been using these snugglers for the past month with my newborn - and they are a game changer! She sleeps so well in them and they are just soo easy to make and use! I ended up making 3 fleece snugglers for the cooler weather, and now that it is getting warmer I also made 3 in soft cotton.


Winter baby bonnet

I recently discovered Purl Soho, which is a gem of a website filled with adorable patterns including some that are free! The first pattern from this site that I tried was their Winter baby bonnet, which you can find here. I used remnant cotton fabric for the outside and fleece lining. I would use this pattern again, but think that next time I would modify the pattern so that the strap ties could be at least 1 inch longer as my final bonnet seems like tying it may be a little difficult.
 After sewing the inside and outside together with right sides facing, I then flipped this to right side on the outside. The opening was then hand stitched closed.
 So excited to coordinate this bonnet with the cloth baby shoes I made!


DIY cloth baby shoe

I am starting to feel a major nesting urge now that I am nearing the middle of my 3rd trimester. All I want to do is make things for the baby, who is due mid February. While I know that shoes will not be terribly practical for a newborn, they are just the cutest tiny things to make and take so little fabric to complete. I found a wonderful baby shoe tutorial with a free modifiable pattern here, and I definitely plan to make these again. These would also make for a darling baby shower gift!
Each shoe is composed of 3 pieces. I used a lovely cotton remnant of a Japanese fan pattern for the outside and, because I am having a winter baby, fleece lining. Fabric remnants are likely sufficient for these shoes. You will also need a little 1/4 inch  of elastic for the top of the shoe.
Once the inner and outer layers were sewn together, I sewed the toe part to the sole. 
 With right sides facing in, I then added the heal piece to each shoe.
The next and last step is to add the elastic on the top edge of the heal piece. This elastic is then tied to make the shoe secure and snug.

 Cant wait to see baby feet in these!