


I ended up making four these quilts in one day! Using Riley Blake's when skies are grey fabric felt a little like cheating since the fabric is designed to look like a striped quilt to start with! I used Amy Butler's linen for a backing, cotton batting for the center, and cotton striped fabric for the binding. The final dimensions were 36x44 inches, and each quilt took one yard of fabric per side.
After cutting out each pace, I carefully laid the backing, batting and top fabric together and pinned in several places as I went.

Next I machine sewed through all thicknesses along the division lines of the top fabric pattern. I then looked at all of the edges to make sure all of the layers still met up, and trimmed off a little where necessary before starting on the binding.
For the binding I followed this great tutorial using single folded stripped fabric. I just adore they way the thin black and white stripped binding looks on these quilts! I will definitely be using this technique again on future projects.
The binding was 1 1/4" wide. I made a single very long binding strip that I used for all of the quilts by sewing individual strips together on a 45 degree angle. Sewing them together on an angle prevents any unwanted bunching and thickness in the binding, which would be noticeable on the final project.

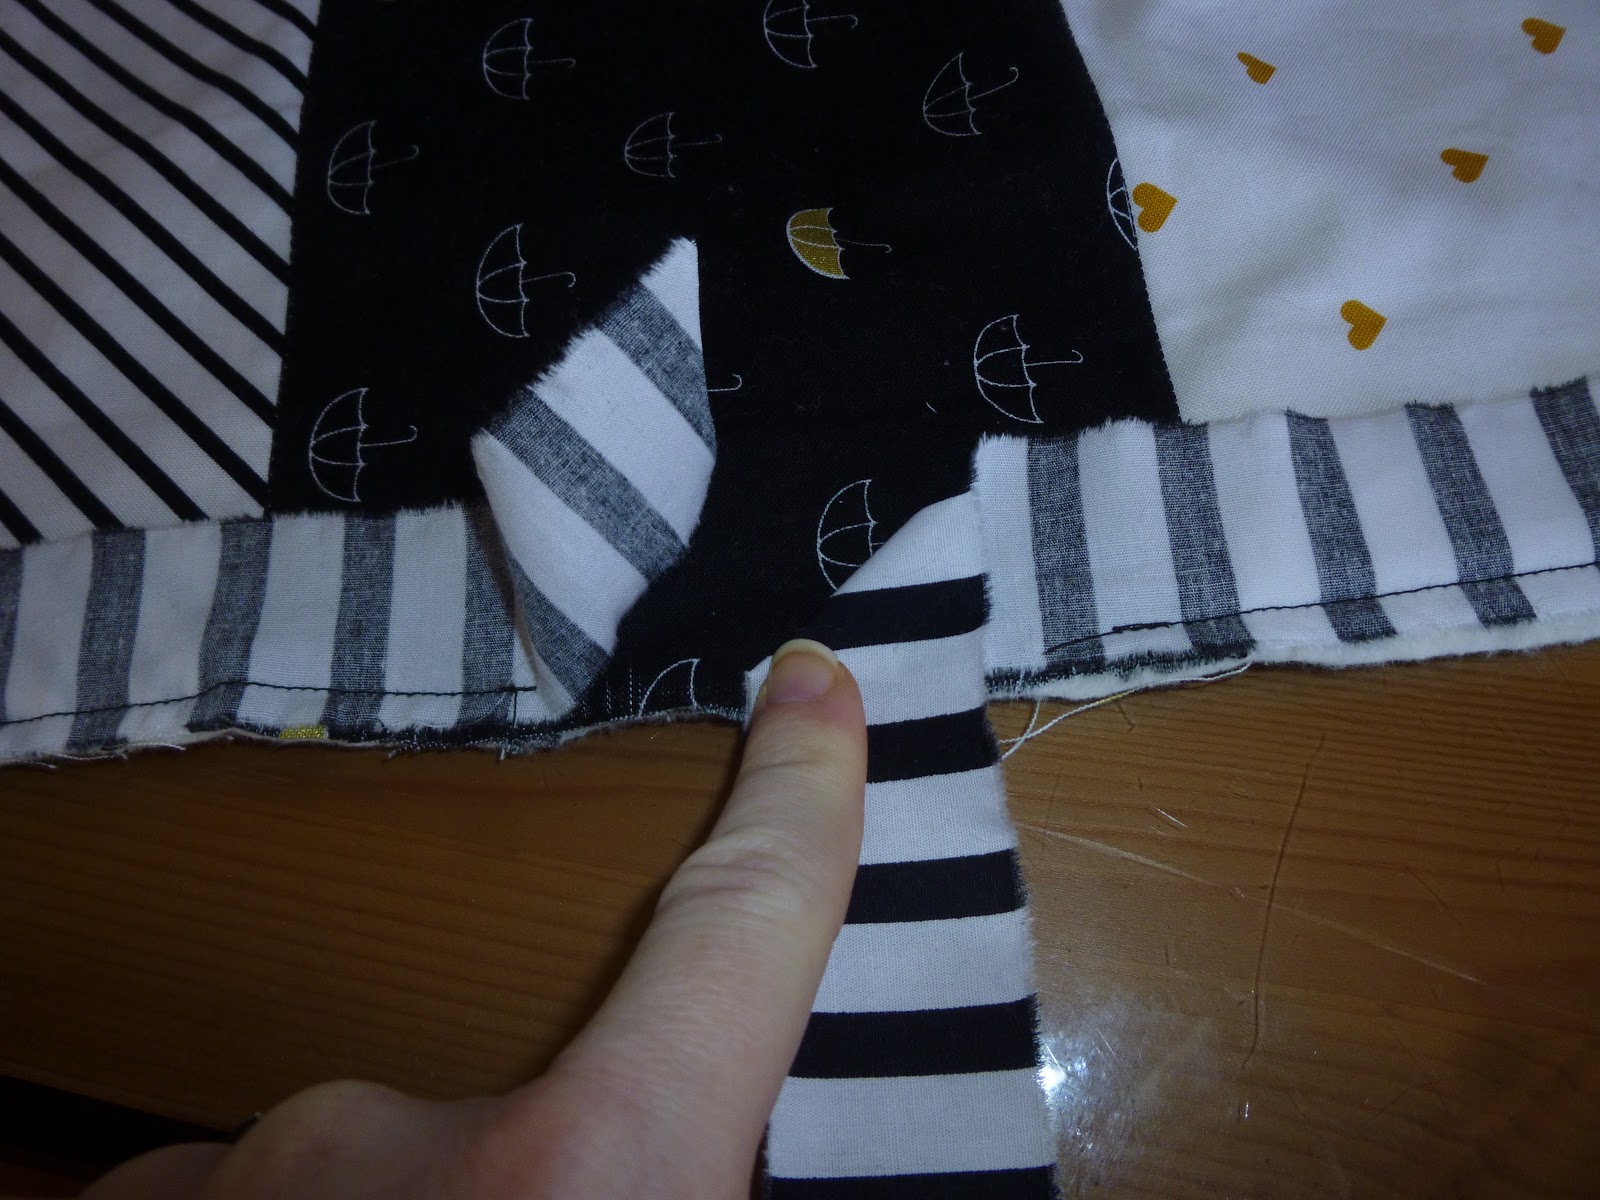
After sewing along the 45 degree angle (marked above by the pin), I trimmed the extra fabric and pressed the seam open.


At the corners, I stopped sewing 1/4" from the edge of the fabric (this step needs to be precise).


I turned the binding's raw edge under and folded this over the quilt's raw edge, thereby making a slim binding to encase the quilts raw edge. Flipping the quilt over, my final binding seam was placed at the very edge of the binding and just over the first binding seam, making the seam mostly hidden from the top side of the quilt.


